When we first moved into our house, our master bathroom was the least of my concerns and definitely wasn't on my "design radar." I knew that I would eventually want to paint it, and maybe switch up some hardware or something, but other than that it was pushed out of our minds. That is, until we started working on our basement bathroom.
See, our basement bath vanity was small. Think, 17 inches wide small (which is smaller than my half size desk calendar at work!). But, since we were making the basement bathroom bigger, we wanted a bigger vanity too. Luckily, our master bathroom vanity was the perfect size for our bigger basement bath, so we decided to move it downstairs and buy a nicer vanity for our master bath! Of course, shopping for a new master bath vanity got my design juices flowing and now our master bath is much nicer, or semi-sophisticated!
Here's where I pretty much left our master bathroom soon after we moved in . . . (and my apologies for the yellow-ish lighting.)
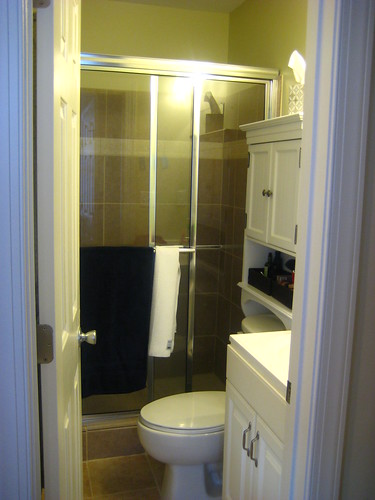
We bought a cabinet to put over the toilet and that was about it. Bor-ring. But functional and, most importantly, clean.
Like I said though, my designer-brain was working up a storm on this bathroom and I decided I wanted to do subtle horizontal think stripes on the walls. Stripes on walls seems to be pretty popular out in the design-world, so I figured I would jump in too. (Plus, they'd match the chevron stripes in our guest bedroom!) Now, when I say subtle, I mean sub-tle. See . . .
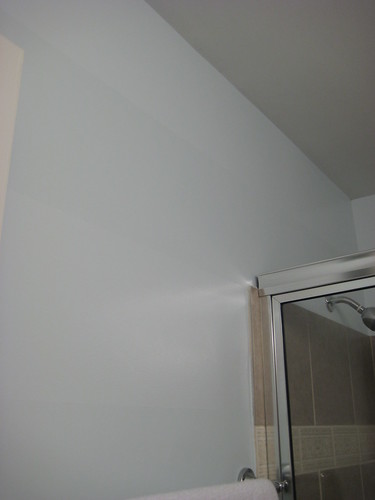
Really, do you see them? Hint - look for a stripe right above the shower tiles . . .
I did the stripes in a flat and a semi-gloss of the same light blue paint (Ice Folly by Behr to be exact), so while it's really hard to capture on camera the flat vs. shiney-ness of the blue is just subtle enough in person. And, just for your information, I didn't do different colored stripes because I really wanted a subtle look and our bathroom is so tiny that I was afraid that too much color contrast would make it seem like a fun house instead of a sophisticated bathroom. (Any synonyms for "subtle"?)
Anyway, on top of painting stripes on the walls, Chris and I changed the cabinetry. While we were moving the vanity to the basement, we also moved the toilet cabinet to the basement too. Then, I bought wooden corbels and shelves from Home Depot, spray painted them white, and Chris threw them up on the wall. Ok, so he didn't throw them up on the wall - it wasn't that easy - but I'm not going to go into those boring and messy details . . . see, see, aren't our new shelves pretty!
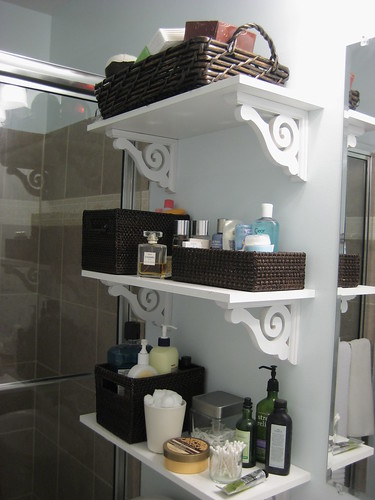
I'm still trying to organize our "stuff," but I really like how it still gives
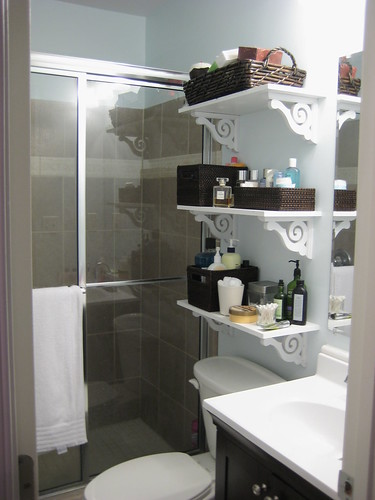
Like our new vanity too? It's still not too fancy, but definitely more our style than the basic white one.
So, that's it. That's Part 2 of Operation Finish Bathrooms!! And, I've saved the best for last, our guest bathroom, so stay posted!
No comments:
Post a Comment