We spent 4 days over Thanksgiving sanding, priming, painting, taping, painting, cleaning, etc. our basement, guest, and master bathroom. Fun, no? And, believe it or not, we still aren't completely finished. Although, we are much closer than we were a month ago!
So it's time for Part 1 of Operation Finish Bathrooms: The Once-Cruise-Ship-Sized-Dreaded Basement Bathroom!
The most troublesome bathroom from the moment we moved in was the one in our basement. It was ti-tine-ey. Seriously, cruise-ship bathroom size, if not smaller. Too small to even take an okay picture of it. And, we realized shortly after we moved in that water was leaking in near the bathroom right onto our carpeted basement floor. Want mold? No, thank you. As I wrote about way back when, we spent last fall and winter making the bathroom bigger, thanks to some door maneuvering. Since then, Chris has been painstakingly patching up the leaks, re-bricking parts of walls, waterproofing, tiling, plumbing, electrical work, drywalling, mudding, painting, trimming, etc., all when he's not laboring away on statistics homework. Fun, no? Here are some pictures of all that fun . . .
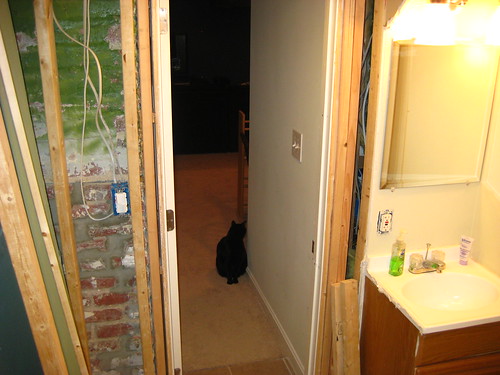
Here's the bathroom last spring, after we moved the wall making it bigger, but before we found the water leak. (The gap in the tile floor is where the old wall was before we made it bigger.)
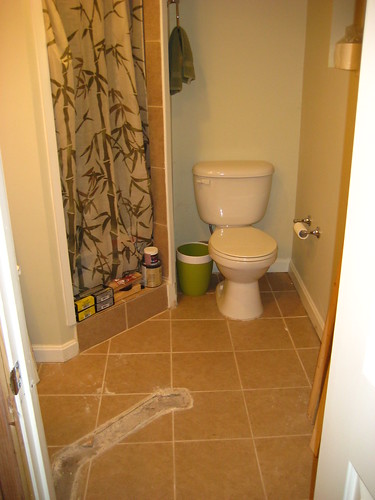
Then we realized that water was leaking in from under our outdoor steps and through the bathroom, so those pretty walls had to get torn down to find the leak.
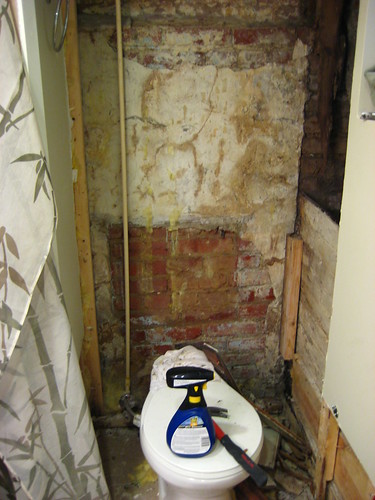
Yup, this is rotting wood that was behind the bathroom drywall. Gotta love water damage over years and years and years.
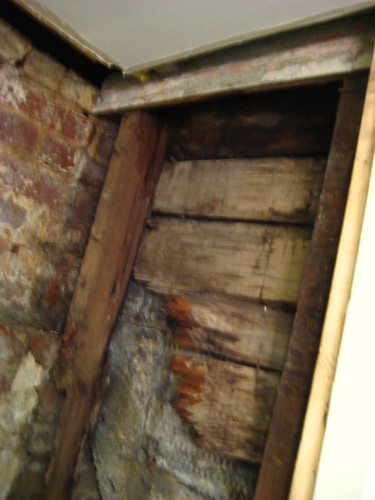
And, here's more rot. Oh, and see that hole that's under our outdoor steps? Yup, that's where the water was getting in. Notice the rotted wood in the bottom of the whole. Gross.

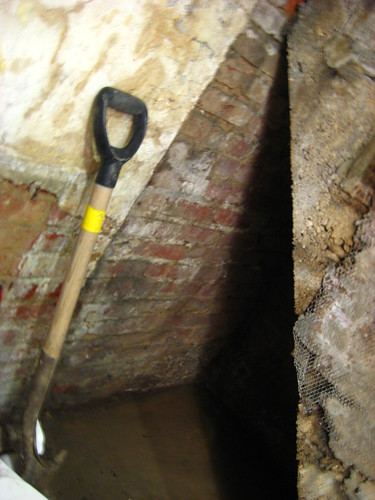
Chris cleaned up the hole and sealed it from future water trickling in. Much nicer looking.
Since we moved the wall out, we also had to fix the light switch and put up the new dry-wall. Pretty much the entire bathroom got new drywall. Some walls got new drywall twice. Lucky us.
Here's the extensive list of what
- Re-framed the new bathroom entrance and door after we moved the wall out.
- Discovered the water-leak culprit: a strange empty space under our outside stairs.
- Cleaned out the space under the stairs, waterproofed it and bricked it up.
- Created a door to access the space = new storage!
- Put in a new vanity and sink (we used the one from our master bath, more on that in another bathroom segment!).
- Re-drywalled the entire bathroom, including the ceiling. Mudded it, then painted it.
- Put in a new light switch for the bathroom.
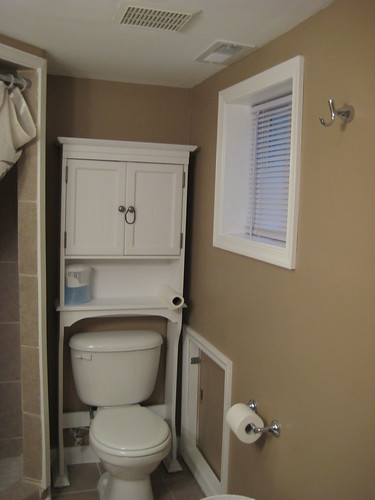
- Re-framed the bathroom window.
- Re-tiled parts of the bathroom and the area outside of the bathroom.
- Added trim everyway.
- Cleaned the bathroom, which was covered in dust. Bleh.
- Put on a new toilet seat cover. Fancy, I know.
- Re-hung the old fixtures, and added some new ones (towel racks).
And, voila! Here is our new and greatly improved basement bathroom!
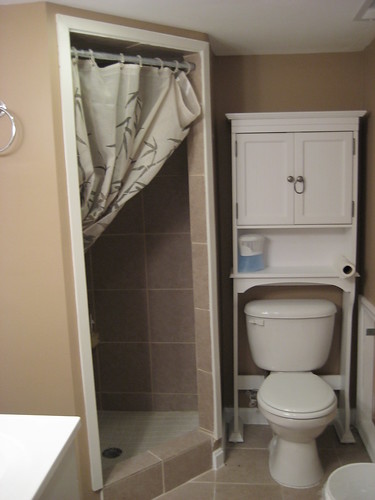
Notice the door next to the toilet. That's the hole we found under the stairs that is now extra storage!
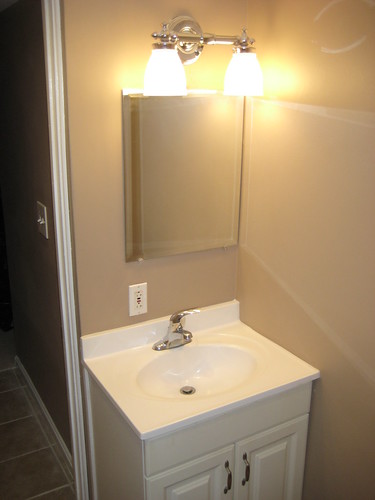
Check out our nice recycled vanity from our master bath. The mirror might be off-center, but it's a basement bath, who cares!
Our lazy-selves are relishing in the fact that we can now actually use the bathroom in the basement while we are down there watching TV and working out, instead of running upstairs! Yippee!!
So, that's it. Our basement bath is DONE. Done, done done!
Part 2 of Operation Finish Bathrooms will be coming soon . . . (as soon as we hang up shelves and clean!) So, stay tuned!
No comments:
Post a Comment